Game Engine: How I Implemented Skeletal Animation
In 2020, I started writing a 3D game engine from scratch in C++. This is a post about how I added skeletal animation to it. Drake is in it, so buckle up.
I figured it would be really cool to support animated models in my engine. After all, it feels much more like a game if you can have people moving around, birds flying around and so on!
Skeletal animation basically means a model has a set of bones alongside its regular vertex data. Each vertex can be influenced by one or many bones. This means that when you move around the bones, the vertices linked to them also move around. Move the arm bone, and the character’s arm moves! These movements are created by artists in e.g. Blender and are saved as animations alongside the model.
This system is really cool and intuitive, but it also has its drawbacks, because you need to upload a transformation matrix to the GPU for each bone each frame. Considering you can have 60+ bones per model, this can get really taxing with bigger scenes.
There’s a really interesting video about how the guys at Giant Squid made the animations in ABZÛ. I recommend watching it, but the tl;dr is that they found skeletal animation to be too slow and went for procedural animations and blend shapes to animate thousands of fish and kelp. I’ll probably look into this when it comes to creating animations I’ll actually be using in a game, but let’s try out skeletal animation for now!
How skeletal animation works
First off, it’s important to understand that all our animation data is going to be relative to our bind pose, which is that funny-looking T-shaped position videogame characters are sometimes in when something has gone wrong. Think Cyberpunk.
The animation is basically a set of keyframes that tells us how to transform each point for a set of keyframes. So at $t = 0.0$ we’ll be in bind pose, at $t = 0.2$ we’ll move around a little bit, at $t = 0.4$ we’ll move a little bit more, and so on.
Let’s say we’re trying to figure out the animated position $x_1$ of a vertex $x_0$ on our character’s forearm. We’ll assume that vertex is only linked to one bone, the one starting at the wrist.
First off, we need to get the bone position, so the position of that wrist. Here’s the thing, though: to calculate the position of a bone, we need to calculate the position of all its parents first! This only makes sense, since the position of a bone is always relative to its parent, which is what makes skeletal animation possible.
In our animation, each bone has a transformation matrix, made up of the translation, rotation and scaling that happens to it on one particular frame. Let’s call this matrix $A_n$. If we start from the shoulder for simplicity, we have $A_0$ for the arm, followed by a transform $A_1$ for the forearm, then $A_2$ for the hand. Putting these together (in OpenGL matrix multiplication order, so right-to-left!) gives us $A_2 * A_1 * A_0$. That gives us a matrix that transforms the position of the wrist.
Next up, we need the vertex position. Our vertex $x_0$ is positioned relative to the world origin. However, for our transformation to work, we need to convert $x_0$ to be relative not to the world origin, but to the parent bone. The matrix that performs this transform is called the “inverse bind pose matrix”, and every bone has one. I’ve written it as $BP^{-1}_2$. Fortunately, this matrix is usually precalculated by the modelling software and stored in the model file.
If we put all this together, we’ve got our bone transformation matrix $T$, which can transform any vertex to its new position!
$$ T = A_0 * A_1 * A_2 * BP^{-1}_2 $$
Of course, in practice, a single vertex will probably be influenced by many bones. We create a bone transformation matrix $T$ for each of our three bones.
$$ \begin{align} T_0 &= A_0 * BP^{-1}_0 \\ T_1 &= A_0 * A_1 * BP^{-1}_1 \\ T_2 &= A_0 * A_1 * A_2 * BP^{-1}_2 \end{align} $$
To calculate the position of a certain vertex, we can create a weighted average of these matrices.
$$ ((T_1 * 0.4) + (T_2 * 0.6)) * x $$
And with that, we’ve transformed our vertex from its original position to its animated position! If we do this for all vertices, we should get a nice animation. Let’s start programming this.
Loading the model in
To start things off, we need a model with animations. We obviously won’t be using this model for anything when we actually make a game, we just want to have something to test. mixamo.com has some free models with fun animations, so of course I chose the archer model with the “Hip Hop Dancing” animation for the memes. I’ve included a video of what the animation is supposed to look like when we’re done.
How data is stored in the models
Eventually, I want to choose a file format to stick with, and write a parser to parse it directly. However, for now, we’re just experimenting, so let’s use the Assimp library to load this model. It comes with the added bonus of having a name that is both hilarious and somewhat unfortunate in 2021.
As with most things in programming, the most important task is going to be understanding and structuring the data. We want to load three things out of the model:
- The animation data, with the bone transforms for each keyframe.
- The bone hierarchy, so which bone has which parent bone.
- For every vertex, which bones it’s affected by, and which bones have which influence.
The animation data
This one’s easy. Assimp gives us a series of aiAnimation structs. The animations have an aiNodeAnim for every bone,
which contains all the keyframes for that particular bone. This is a simplified version of what it looks like:
struct aiAnimation {
  aiNodeAnim **mChannels;
  double mDuration; // Duration of the animation in ticks
  double mTicksPerSecond;
};

struct aiNodeAnim {
  aiString mNodeName; // The name of the node (bone) affected by this animation
  uint32 mNumPositionKeys;
  uint32 mNumRotationKeys;
  uint32 mNumScalingKeys;
  aiVectorKey mPositionKeys[]; // The translation for each keyframe
  aiQuatKey mRotationKeys[]; // The rotation for each keyframe
  aiVectorKey mScalingKeys[]; // The scaling for each keyframe
};

struct aiVectorKey {
  double mTime;
  vec3 mValue;
};

struct aiQuatKey {
  double mTime;
  quat mValue;
};
We just need to remember all this data and save it in a list of animations. We’ll go over how we use it later.
The bone hierarchy
The next thing we need is the actual list of bones. More than this, we need to store the bone hierarchy, so which bone has which parent.
Assimp just gives us the data the way it’s stored in the file, so a hierarchical tree of nodes. This is pretty awful for our purposes for two reasons.
First off, the data we get from Assimp doesn’t tell us at all which nodes are actually bones and which are meshes! This means we need to figure out some way of finding at least the root bone, so we can traverse its tree. Here’s the simplest way I figured out how to do it:
- Find each first-level descendent of the root (in our case, the nodes labelled “Hips” and “Akai”).
- For each one, recursively check if any of its children has any meshes.
- If we found a first-level node whose entire descendant tree contains no meshes, it’s probably our root bone. In our case, you can see it is indeed the “Hips” node.
Secondly, and even more importantly, we get a tree of structs that look like this:
struct aiNode {
  aiString mName;
  uint32 mNumChildren;
  aiNode **mChildren;
};
Why is this bad? Imagine I asked you to find a certain bone along with all its parents in this structure. You’d have to do some kind of tree traversal to find the node I asked for, then somehow remember how you got there, perhaps with a recursive function.
First of all, this makes it difficult for the CPU to cache this data, because we’re making it unpredictably jump around this tree, so it has to go to pretty random memory addresses to find the next node. This means our code will be unnecessarily slow.
But importantly, we just cannot be bothered with writing that code. Who has time for that? Wouldn’t it be nicer if we had something like this?
ID | Name       | Parent ID
0  | Hips       | -
1  | Spine      | 0
2  | LeftUpLeg  | 0
3  | RightUpLeg | 0
4  | Spine1     | 1
5  | LeftLeg    | 2
6  | RightLeg   | 3
(... and so on for the rest ...)
This is so easy — RightLeg’s parent is 3 (RightUpLeg), whose parent is 0 (Hips). But there’s something even better. Have you realised what it is?
Remember how, to calculate the transform for a certain bone, we have to calculate all its parent transforms? Well, our array is sorted in a special way. All the parents come before the children. This means that if we go through the array top to bottom, we know for sure that we will have already calculated all of node X’s parents before we get to node X! This makes everything super simple — we just traverse X’s parents and multiply their matrices together.
With this in mind, I wrote a small function to traverse the hierarchical tree and convert it to this simple array. Then we yeet the hierarchical data out of existence.
The vertex data
Next up, we need to store which bones influence every single vertex, along with the weight of this influence. Right now,
our vertices only have position, normal and tex_coords. Let’s add the bone influence data. This is easy enough —
if we want to support up to 4 bones per vertex, we can store this as two vec4s.
// In the vertex shader.
layout (location = 0) in vec3 position;
layout (location = 1) in vec3 normal;
layout (location = 2) in vec2 tex_coords;
layout (location = 3) in uvec4 bone_idxs;
layout (location = 4) in vec4 bone_weights;

// In C++.
struct Vertex {
  vec3 position;
  vec3 normal;
  vec2 tex_coords;
  uint32 bone_idxs[MAX_N_BONES_PER_VERTEX];
  float bone_weights[MAX_N_BONES_PER_VERTEX];
};
bone_idxs contains the indices of the bones that affect this vertex, and bone_weights contains a set of numbers like
0.2 or 0.6 that are the weight of each bone. The bone_weights need to add up to 1.0.
Getting this from the model is also really straightforward. Each aiMesh that Assimp gives us has an mBones array,
which can contain aiBones, which look like this:
struct aiBone {
  aiString mName;
  uint32 mNumWeights;
  aiMatrix4x4 mOffsetMatrix;
  aiVertexWeight* mWeights;
};

struct aiVertexWeight {
  uint32 mVertexId; // The index of the vertex influenced by this bone.
  float mWeight; // The weight of this bone.
};
This means that, when loading our meshes, we can:
- find vertex with index
mVertexIdsince this is what we need to save the data into, - go through each bone in the current mesh, if any,
- find that bone in our bone array (we have to do a slow string comparison by
mNameunfortunately, but it’s okay, we’re only doing it once), - remember the index that the bone was at in our bone array,
- save this bone index, along with the weight, in our vertex data.
You might notice that aiBone also has something called mOffsetMatrix. In fact, this is exactly the inverse bind pose
matrix $BP^{-1}$ that we talked about earlier. While we’re going through these aiBones, let’s save this matrix in our
beautiful Bone array.
ID | Name       | Parent ID | Inverse bind pose matrix
0  | Hips       | -         | mat4(...)
1  | Spine      | 0         | mat4(...)
2  | LeftUpLeg  | 0         | mat4(...)
3  | RightUpLeg | 0         | mat4(...)
4  | Spine1     | 1         | mat4(...)
5  | LeftLeg    | 2         | mat4(...)
6  | RightLeg   | 3         | mat4(...)
(... and so on for the rest ...)
At this point, we’ve filled up our Bone as well as our Vertex structs, so we’re ready to move on to the next step!
Calculating the bone transformation matrices and sending them to the GPU
Pfew, alright! We got all the data. Honestly, most of the work is done. With our newfound information, we simply need to step through each bone, then calculate its transformation matrix.
Animation *animation = &animation_component->animations[0];
real64 duration_in_sec =
  animation->ticks_per_second * animation->duration;
real64 animation_timepoint = fmod(t, duration_in_sec);

for (uint32 idx = 0; idx < n_bones; idx++) {
  Bone *bone = &bones[idx];
  mat4 parent_transform = mat4(1.0f);

  if (idx > 0) {
    parent_transform = local_bone_matrices[bone->idx_parent];
  }

  AnimChannel *anim_channel = &animation->anim_channels[idx];

  uint32 idx_position = get_anim_channel_position_index(
    anim_channel, animation_timepoint
  );
  mat4 translation = translate(
    mat4(1.0f), anim_channel->position_keys[idx_position].position
  );

  // Almost identical code for rotation and scaling

  mat4 anim_transform = translation * rotation * scale;
  local_bone_matrices[idx] = parent_transform * anim_transform;
  final_bone_matrices[idx] = local_bone_matrices[idx] * bone->offset;
}
First of all, we get the duration of the animations in seconds, and our current time point inside that animation.
We get each bone, along with its parent transform.
Next, we want to calculate the animation matrix, which dictates the translation, rotation and scaling of each bone for
our particular point in time. To do this, we need to actually figure out which keyframe of the animation we’re in. Let’s
just write the usage code for get_anim_channel_position_index() now and leave the actual function for a bit later.
We’ve calculated everything! Now we just need to multiply our matrices together. If you’re confused about this, check
the beginning of the post again. Remember, we combine our bone’s animation transform with all its parents’ animation
transforms, as well as the inverse bind pose matrix (named bone->offset here), which transforms our vertex from world
space to bone space.
Bone matrices complete! That’s everything we need to send to the GPU.
To round things out, we can write the function to actually figure out where we are in the animation. I’ve included an example of what our keyframe timings could look like. Basically, we want to determine the time since our animation would have started, based on our current in-game time.
anim_channel->position_keys[].time    0.1, 0.2, 0.3, 0.4, ..., 1.5
duration_in_sec                       1.5
t (current time)                      1.75
animation_timepoint                   0.25
closest keyframe                      0.2
If our animation lasts 1.5 seconds, and our current time is 1.75, that means we’re 0.25s into the animation. The nearest keyframe to this is the keyframe at 0.2s. Here’s what the code looks like.
uint32 get_anim_channel_position_index(
  AnimChannel *anim_channel, real64 animation_timepoint
) {
  for (uint32 idx = 0; idx < anim_channel->n_position_keys - 1; idx++) {
    if (animation_timepoint < anim_channel->position_keys[idx + 1].time) {
      return idx;
    }
  }
  return 0;
}
Just kidding! Did you think we were going to loop over every single keyframe in every single animation for every frame? That would be slow as heck. Instead, we’re going to remember the last place we looked in the array, and just continue from there next time. Pretty much every time we check, we should either get the same position, or the next one.
uint32 get_anim_channel_position_index(
  AnimChannel *anim_channel, real64 animation_timepoint
) {
  uint32 idx = anim_channel->last_position_key;
  do {
    if (
      animation_timepoint > anim_channel->position_keys[idx].time &&
      animation_timepoint < anim_channel->position_keys[idx + 1].time
    ) {
      anim_channel->last_position_key = idx;
      return idx;
    }
    idx++;
    if (idx == anim_channel->n_position_keys - 1) {
      idx = 0;
    }
  } while (idx != anim_channel->last_position_key);
  return 0;
}
This means we’re done with all the calculations we have to do on the GPU. However, since we’re doing what’s called GPU
skinning, once we’ve uploaded these matrices to the GPU using our uniforms, we need to actually do that weighted
multiplication we talked about, to transform each vertex. We do that in our vertex shader:
mat4 bone_transform = mat4(0.0);

for (int idx = 0; idx < 4; idx++) {
  if (bone_weights[idx] > 0) {
    bone_transform += bone_matrices[bone_idxs[idx]] * bone_weights[idx];
  }
}

vs_out.world_position = vec3(model_matrix * bone_transform * vec4(position, 1.0));
vs_out.normal = normalize(
  model_normal_matrix *
  mat3(transpose(inverse(bone_transform))) *
  normal
);
Realising we’ve made a terrible mistake
Done! Let’s load up the model, run our engine, and bask in the glory of our beautiful animation. It’s truly wonderf—
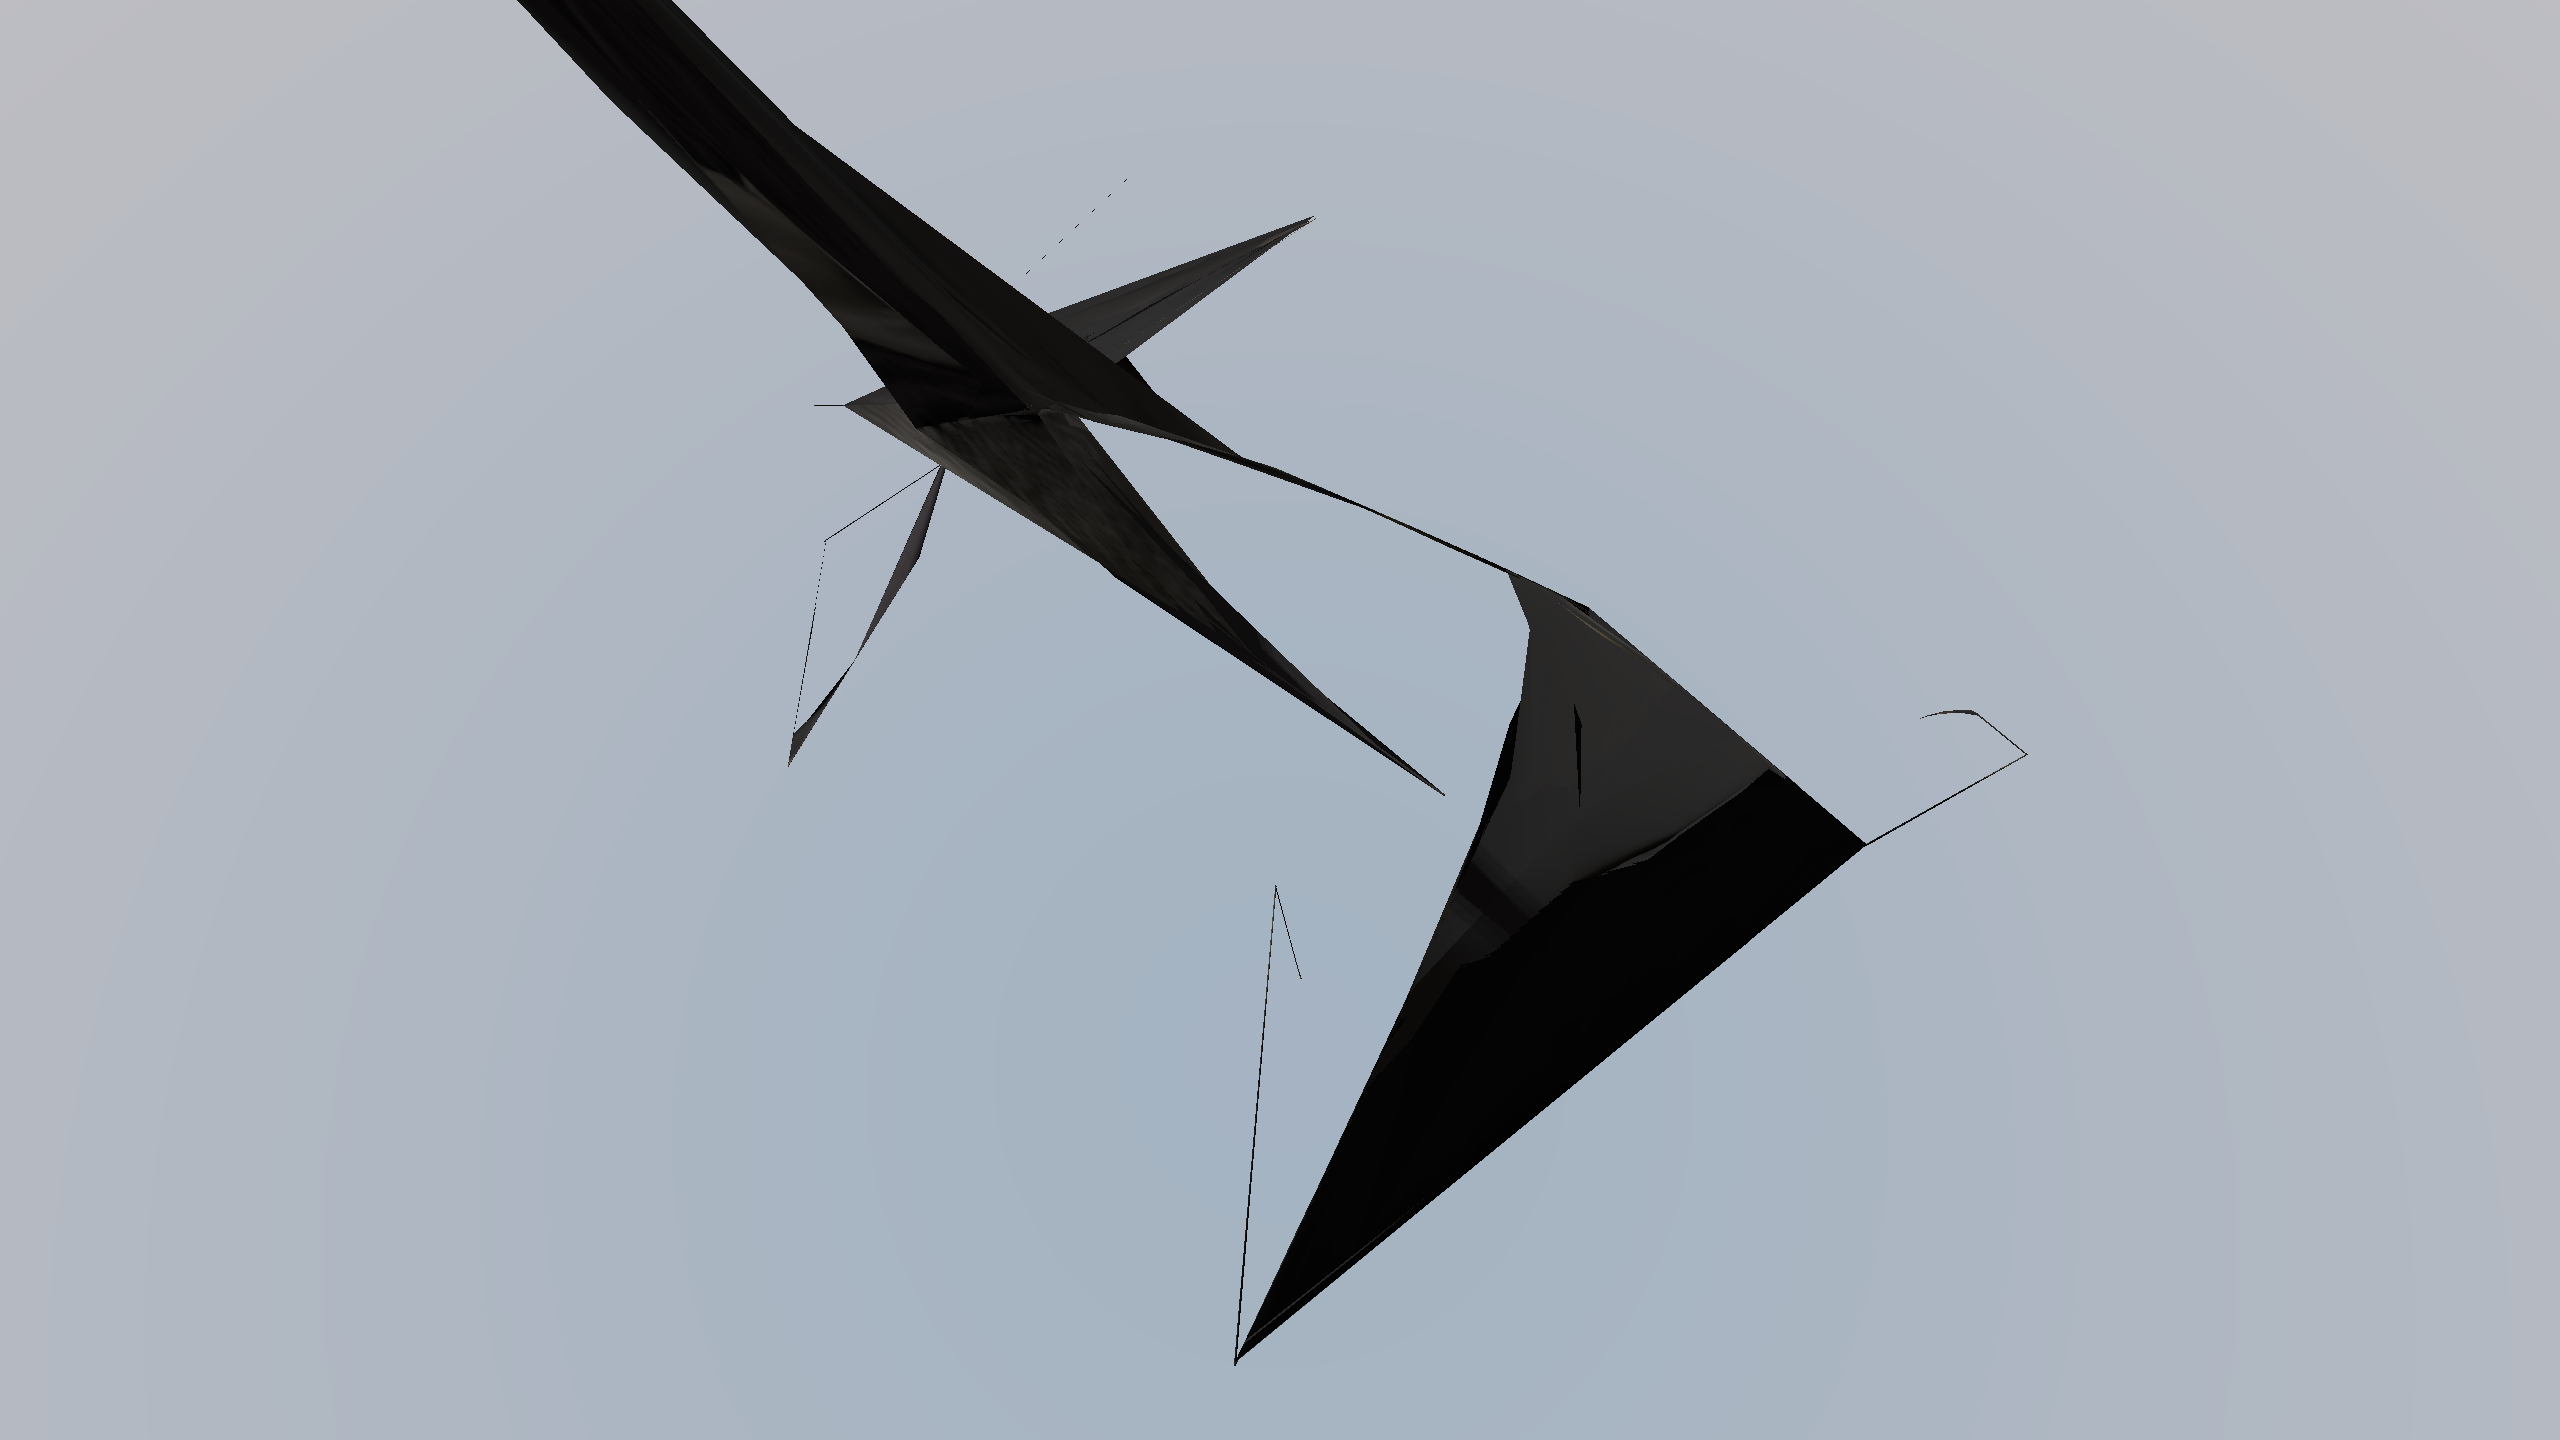
Oh no! We were supposed to be looking at an archer, but it’s…spaghetti? We made spaghetti?! Clearly something went terribly wrong.
This bit had me scratching my head a little bit, but actually the problem is pretty simple. You see, each mesh in our scene also has its own transformation. This transformation is important — it helps position each part of the model in the world correctly, and so on. My existing code applies this transformation to the vertex data right away, before sending it to the GPU. However, the bone calculations need the untransformed data! If we apply the bone transformations to the already transformed data, we’ll get, well, spaghetti!
The fix is simple. Apply the inverse of the scene’s root transformation matrix, then do our transformations, then apply the root transformation matrix back. This isn’t a perfect solution, but it’s not important right now.
final_bone_matrices[idx] =
  animation_component->scene_root_transform *
  local_bone_matrices[idx] *
  bone->offset *
  inverse(animation_component->scene_root_transform);
Let’s see if that fixed it.
Isn’t it super satifying that we got that working? I’ll add the rest of the scene I was working on in my engine, and also give her something to dance on.
Implementing interpolation
This animation is almost perfect, truly. There is just one very last thing missing. Have you noticed her movements look a bit choppy? That’s because there are only so many keyframes in our animation. In our case, we have 165 keyframes. This is definitely not enough to give us a nice and smooth 4 second animation. We need to write a little bit of code to interpolate between the keyframes. That is, when we’re in between two keyframes, we need to calculate the transformation that would happen in that middle point, instead of just snapping to the closest keyframe.
To do this, we simply replace our transform() code from earlier with a similar version, that first does a mix()
between the previous and the next keyframe, depending on our current animation time.
void make_bone_translation(
  AnimChannel *anim_channel, real64 animation_timepoint, mat4 *translation
) {
  if (anim_channel->n_position_keys == 1) {
    *translation = translate(
      mat4(1.0f), anim_channel->position_keys[0].position
    );
    return;
  }

  uint32 idx_position = get_anim_channel_position_index(
    anim_channel, animation_timepoint
  );
  real64 prev_keyframe = anim_channel->position_keys[idx_position].time;
  real64 next_keyframe = anim_channel->position_keys[idx_position + 1].time;

  *translation = translate(
    mat4(1.0f),
    mix(
      anim_channel->position_keys[idx_position].position,
      anim_channel->position_keys[idx_position + 1].position,
      (animation_timepoint - prev_keyframe) / (next_keyframe - prev_keyframe)
    )
  );
}
The code for rotation and scaling is almost identical. Let’s try it out.
Basking in our glorious results
The smoothness of our animation is beautiful. We’ve truly done it. We started with nothing and ended up with a skeletal animation system. Congratulations! Your should be pleased with yourself.
I had a lot of fun implementing animations, including a couple of nights of staying up until 5am to figure out what was going wrong in my program. I hope you feel like you learned something, or at least that you had a laugh.
I’ll be posting more about the engine — one post I really want to write is about how I made the water you see in the background! Until then, take care.